
I’m never going to tell you that your camera phone can stand in for professional photography created with professional tools. However, in our digital world, a camera phone can still be a priceless marketing tool. Consider in-process and behind the scenes shots, both of which lead to excellent engagement on Instagram. Better-composed, more attractive photos, even of what may seem like insignificant moments in your process, are likely to garner more attention and increase connection between you, your followers, and your clients. The ability to share beautiful images quickly and easily creates wonderful opportunities for your business and for your brand.
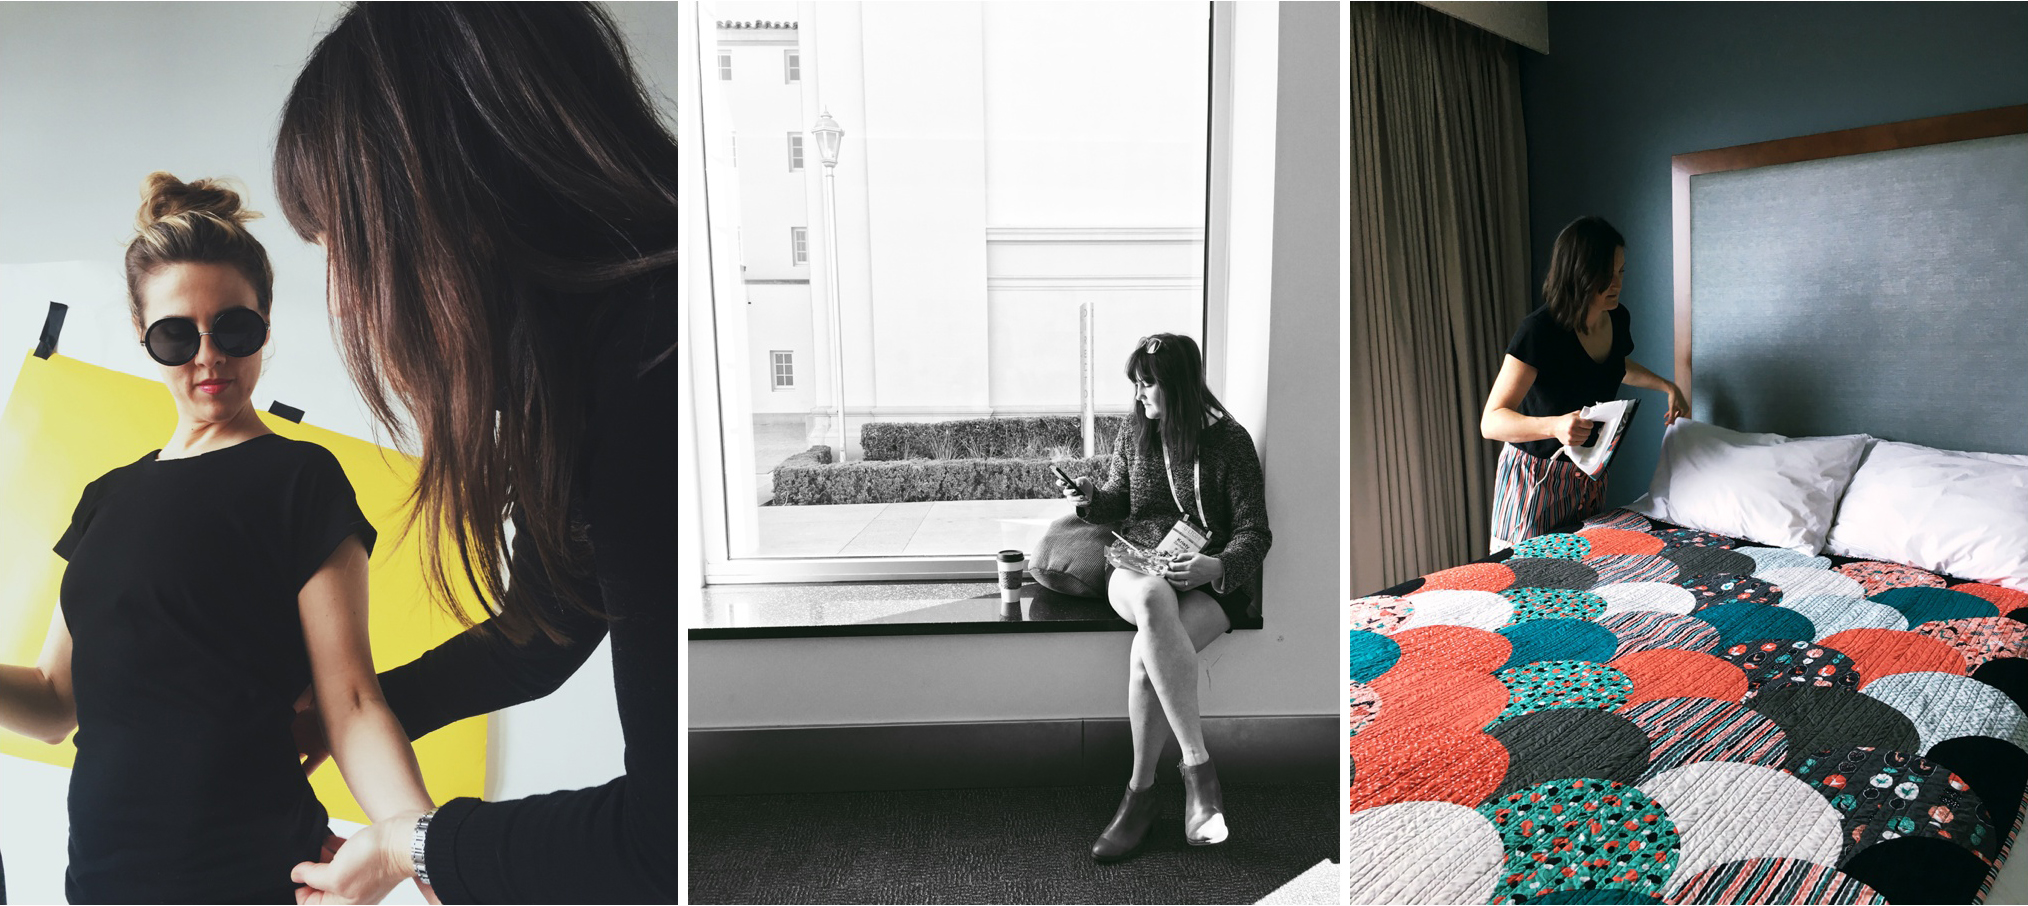
Behind the scenes images shot on iPhone 6s.
Learning to Love Your Phone Camera in 7 Easy Steps:
The most common misconception about phone photography is that even at it’s best it’s still inherently relatively “bad.” This is completely false. A photograph is as good as the photographer, regardless of the equipment. But, even the best photographers require a understanding of their camera’s ins and outs before they set out to capture magic.
- Understand Its Limitations. Remember when I told you that your phone camera is incredible? It is – because of what it can accomplish in such a tiny package. I want you to love it and take advantage of its abilities, and to do that, you must understand what it is not. It is not a dSLR, and should never be compared to one (and that goes for portrait mode on your iPhone, too.) It is not capable of capturing a very high dynamic range and is difficult to use in dramatic lighting that features both bright highlights and dark shadows. It is also not a tool capable of creating large, printable images.
- Adjust Settings and Learn Its Functions. Take the time to really read about how the camera works – how to adjust the exposure, lock the focus, and remove any odd default retouching or color settings. Be sure to select the highest possible resolution in your settings menu so that you’re creating the best possible file.
- Look for Light First. This applies to all photography, but it is of utmost importance when you’re working with a phone camera with a less-than-robust sensor that takes in less data. Your light source should be the very first thing you find, and the basis for all subsequent decisions made. Strong but soft, diffuse light from the sun the best thing you can find. Look for nicely diffused window light when you are indoors (staying as close to the light source as you can), and open shade (sunlight diffused through trees, between buildings, etc. that remains bright) when you are outdoors.
- Take Your Time and Compose. There’s no need to rush anything. Take images with purpose. Use the rule of thirds for good composition and move your subject into the best light available. Don’t compromise your vision by moving too quickly.
- Move Your Feet, Don’t Zoom. Cell phone cameras have a fixed lens with digital zoom instead of optical zoom (save for one or two that have an actual moving lens on them). The difference between digital zoom and optical zoom is that with optical zoom, the lens is actually, physically moving closer to the subject. A digital zoom is simply the camera cropping in on the image – there isn’t any “zoom” at all! You might have noticed that images you take after having zoomed in on your phone camera appear grainier and less sharp than normal. The zoomed images are degraded in quality because the camera is using only a portion of the full sensor. Whenever possible, move closer to your subject instead of using your zoom function for best image quality.
- Clean the Lens Every Time. It’s in your pocket, it’s in your purse, it’s on dirty surfaces and in your hand (or your kid’s) all day long. Make sure that you’re taking a moment to wipe the lens before you snap any photos. I see it constantly – fingerprints on that teeny tiny lens immediately ruin a photo. It just takes a second – use your shirt. Wipe it. Then, carry on! CLEAN THE LENS EVERY TIME!
- Keep Things Simple. Don’t go overboard with filters and edits to try and make images from your phone look better. Use the above tips above to create clean, quality images and use your post-processing apps to put on the finishing touches. A bad image will never be made better by a filter.
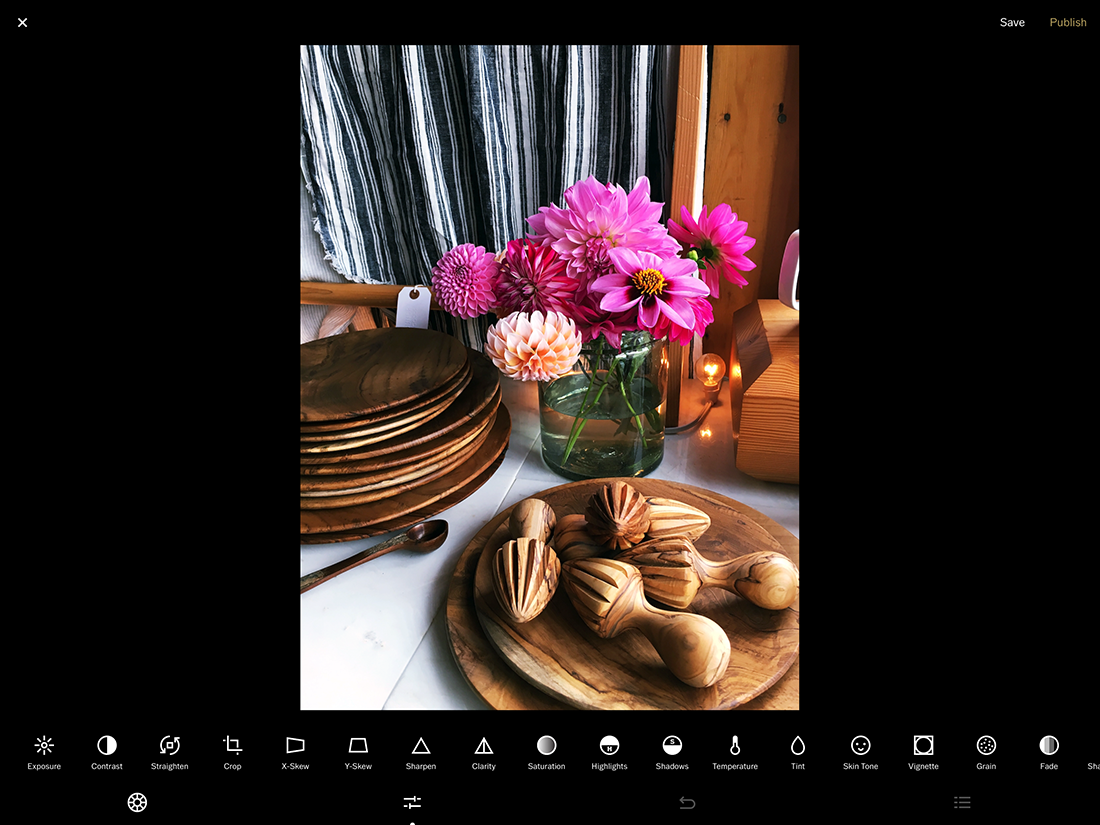
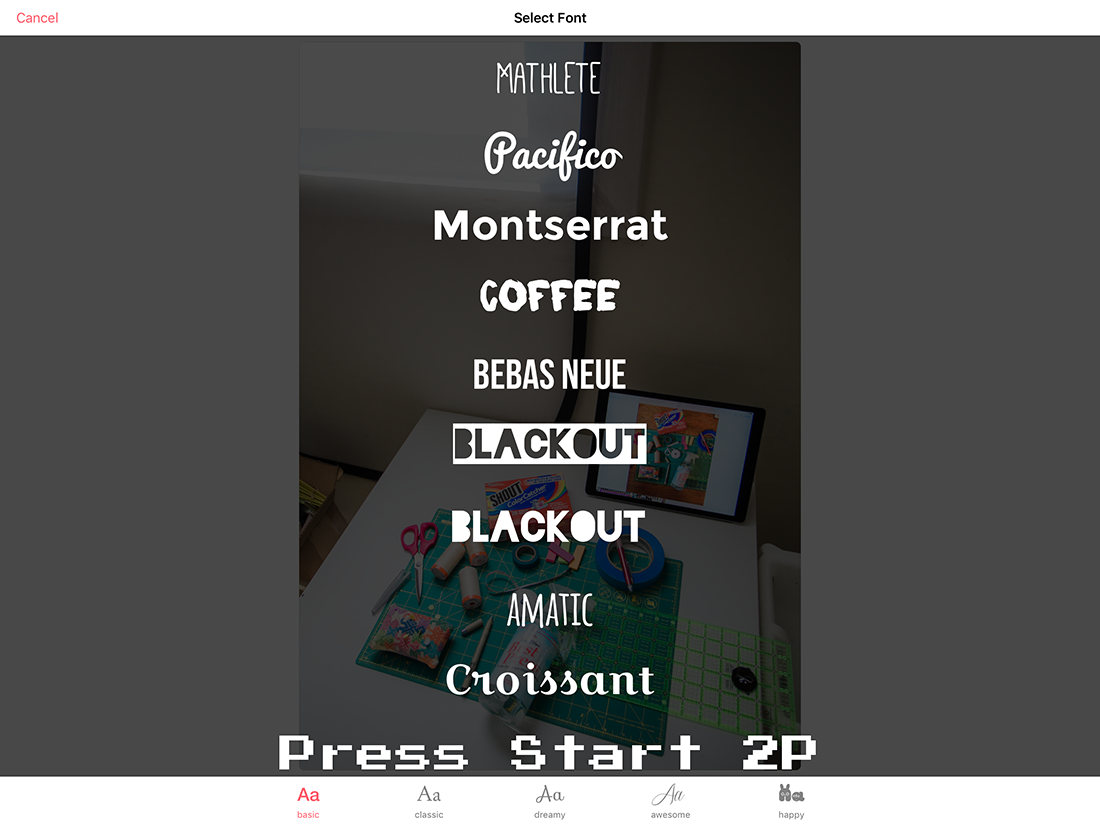
Post Processing Possibilities
In addition to good phone camera technique, a solid photo editing app (or two) is a must-have. It’s easy to get lost in the myriad options. Believe me, I get it. I have probably installed and un-installed about 50 different programs and put them through the ringer.
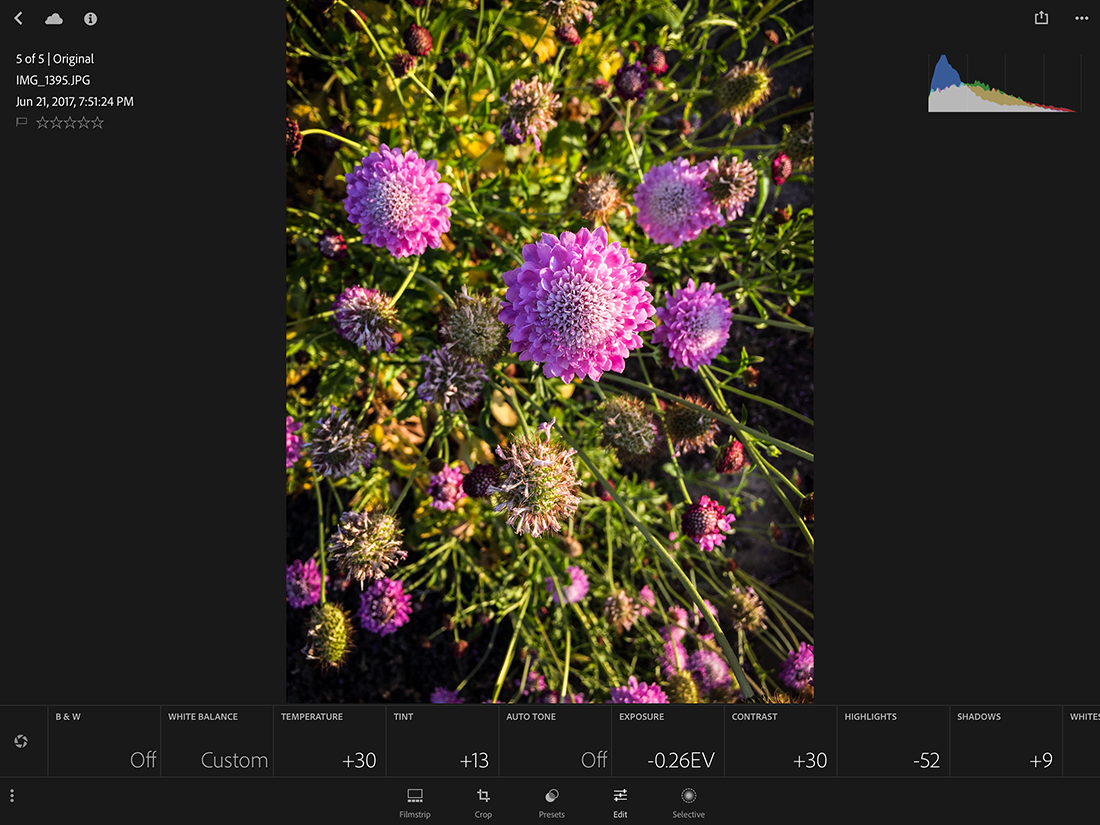
What’s most important is a program that allows you to easily accomplish your goal. Do not waste time with an app that is confusing or takes too many steps. A good user interface, that feels simple and intuitive to you, is the most important feature. Do you want to edit and adjust your own photos, or would you rather use quality preset filters? Maybe you are like me, and want a little of both? Regardless, there’s going to be an app that’s right for you. Here are some of my recommendations:
*NOTE: Don’t be afraid to spend a little money on an app that you really like. Chances are, a paid app will be better-supported, have higher-quality presets and have fewer or no advertising inside the program.

Amazing Things Come in Small Packages:
I want you to love your camera phone. I want you to embrace it as a tool in your creative arsenal. I want you to know that it’s possible to create beautiful photographs of newly-stitched quilting, of delicious fabric, of the complex texture of wood. Follow my advice and embrace the potential of this pocket-sized wonder.

Nissa Brehmer
contributor
Cleaning my lens is such a good reminder, ugh. Thanks for this post!
I love the info and the way it’s presented, however, I believe it should’ve been updated since it was originally written in 2017. I know there’s no way to keep up with rapid change in the industry but the reverse is true that resources may no longer be available as described – both leading to fewer real life applications.
Thank you Nissa!